-
Latest Version
Eclipse SDK 4.39 LATEST
-
Review by
-
Operating System
Windows 7 64 / Windows 8 64 / Windows 10 64 / Windows 11
-
User Rating
Click to vote -
Author / Product
-
Filename
eclipse-SDK-4.39-win32-x86_64.zip
By collaborating and exploiting core integration technology, tool producers can leverage platform reuse and concentrate on core competencies to create new development technology.
The Eclipse Platform is written in the Java language and comes with extensive plug-in construction toolkits and examples. These projects can be conceptually organized into seven different "pillars" or categories:
- Enterprise Development
- Embedded and Device Development
- Rich Client Platform
- Rich Internet Applications
- Application Frameworks
- Application Lifecycle Management (ALM)
- Service-Oriented Architecture (SOA)
It is renowned for its flexibility and robustness, making it one of the most popular choices among developers worldwide. It offers a rich set of tools and features that streamline the development process, from writing and debugging code to managing projects and collaborating with teammates.
Subprojects
Platform
The Platform defines the set of frameworks and common services that collectively make up "integration-ware" required to support the use of Eclipse as a component model, as a rich client platform (RCP) and as a comprehensive tool integration platform.
These services and frameworks include a standard workbench user interface model and portable native widget toolkit, a project model for managing resources, automatic resource delta management for incremental compilers and builders, language-independent debug infrastructure, and infrastructure for distributed multi-user versioned resource management.
JDT - Java development tools
The JDT provides the tool plug-ins for the platform that implement a Java IDE for power-users, that supports the development of any Java application, including plug-ins.
The JDT adds the notion of Java projects and a Java perspective to the platform, as well as a number of views, editors, wizards, builders, and code merging and refactoring tools.
The JDT allows Eclipse to be a development environment for itself. The JDT plug-ins themselves can also be further extended by other tool builders.
PDE - Plug-in development environment
The PDE project provides a number of views and editors that make it easier to build plug-ins for Eclipse SDK for Windows 11/10.
Using the PDE, you can create your plug-in manifest file (plugin.xml), specify your plug-in runtime and other required plug-ins, define extension points, including their specific markup, associate XML Schema files with the extension point markup so extensions can be validated, create extensions on other plug-in extension points, etc. The PDE makes integrating plug-ins easy and fun.
e4 - The next generation of the platform
The e4 project is an incubator for developing the next generation of the platform. The mission of the e4 project is to build a next-generation platform for pervasive, component-based applications, and tools.
Main Features
Rich Plugin Ecosystem: It boasts a vast ecosystem of plugins that extend its functionality. These plugins cater to various programming languages and frameworks, enabling developers to customize their IDE according to their specific needs.
Code Assistance: Eclipse provides comprehensive code assistance features, including code completion, code templates, and real-time error checking. This helps developers write cleaner and more efficient code.
Debugging Tools: Eclipse offers robust debugging tools, including a built-in debugger, breakpoints, and watchpoints. Debugging is made easy with features like step-through debugging and variable inspection.
Integrated Development Environment: Eclipse is not limited to just coding. It offers integrated tools for project management, version control, and collaboration, making it a one-stop solution for developers.
Extensive Language Support: While primarily known for Java development, Eclipse supports other languages like C/C++, Python, PHP, and more through plugins.
User Interface Customization: Eclipse allows users to customize the user interface to suit their preferences, ensuring a comfortable and productive coding experience.
Version Control Integration: It seamlessly integrates with popular version control systems like Git, SVN, and CVS, simplifying team collaboration and source code management.
Cross-Platform: This SDK is cross-platform, making it compatible with Windows, macOS, and Linux, ensuring that developers can work on their preferred operating system.
Installation and Setup
- Visit the official Eclipse website.
- Download the Eclipse IDE package that suits your development needs (Eclipse IDE for Java Developers is a common choice for Java developers).
- Extract the downloaded archive to your preferred directory.
- Launch Eclipse by running the executable file in the extracted folder.
- Upon the first launch, Eclipse will prompt you to select a workspace directory where your projects and settings will be stored. After this setup, you're ready to start coding.
Creating a New Project: To start a new Java project, navigate to "File" > "New" > "Java Project." Enter a project name and choose your preferred settings.
Writing Code: Eclipse provides a code editor with syntax highlighting and auto-completion. Begin writing your Java code within the source files of your project.
Building and Running: To compile and run your Java program, click the "Run" button or use the keyboard shortcut (usually F11). Eclipse will build your code and display the output in the console.
Debugging: For debugging, set breakpoints by clicking on the margin next to your code lines. Then, start debugging (usually F5) to step through your code and inspect variables.
Version Control: If you're working with a team, integrate Eclipse with a version control system like Git to collaborate seamlessly.
FAQ
Is Eclipse SDK for PC FREE to use?
Yes, Eclipse SDK is open-source and available for free, making it an excellent choice for developers on a budget.
Can I use Eclipse for languages other than Java?
Absolutely! It supports various programming languages through plugins. You can extend its functionality to match your development needs.
What are some popular plugins for Eclipse?
Some popular plugins include Eclipse Web Tools Platform (WTP) for web development, Eclipse Data Tools Platform (DTP) for database development, and Eclipse Marketplace for discovering additional plugins.
How can I improve Eclipse's performance?
You can enhance Eclipse's performance by adjusting its memory allocation. Edit the eclipse.ini file to allocate more memory based on your system's capabilities.
Does Eclipse have a dark mode?
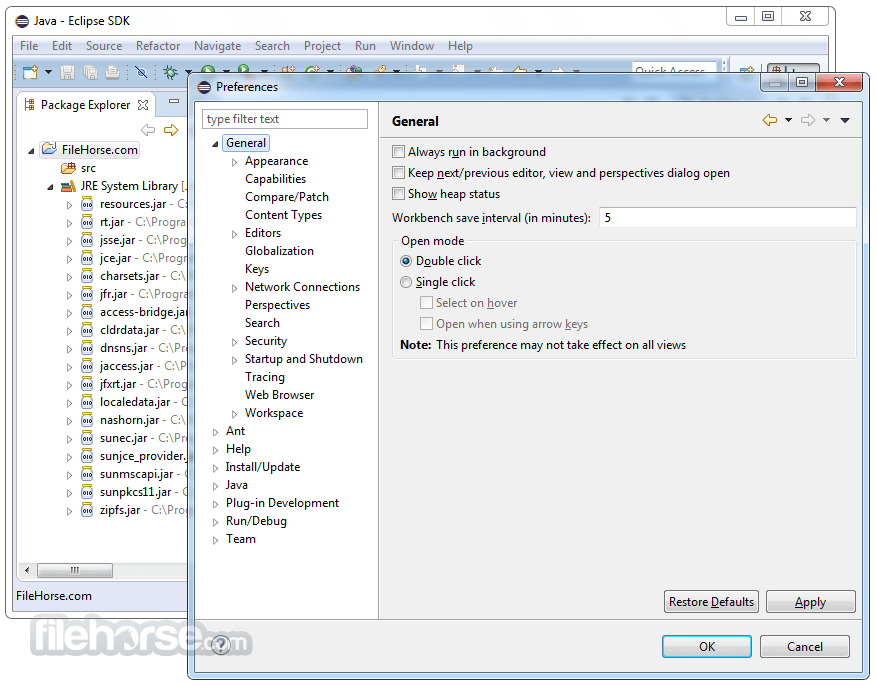
Yes, it supports dark themes. You can enable them by going to "Window" > "Preferences" > "General" > "Appearance" and selecting a dark theme.
Alternatives
NetBeans: Another open-source IDE, NetBeans offers support for multiple languages and a user-friendly interface.
Visual Studio Code: If you prefer a lightweight and highly customizable IDE, Visual Studio Code is an excellent choice, with extensive support for various programming languages.
Android Studio: Tailored for Android app development, Android Studio provides a specialized environment for building Android applications.
Pricing
Eclipse SDK for PC is open-source and completely FREE to use. You can download and use it without any licensing fees.
System Requirements
- Operating Systems: Windows 11/10/8/7
- Memory: 2 GB RAM (4 GB recommended)
- Disk Space: 300 MB of free disk space
- Java Runtime: Java Development Kit (JDK) 8 or later
- Open-source and free
- Extensive plugin ecosystem
- Cross-platform support
- Excellent code assistance and debugging tools
- Integrated version control
- Steeper learning curve for beginners
- Resource-intensive with large projects
- Initial setup may require some configuration
It remains a top choice for Java developers due to its rich feature set, extensibility through plugins, and robust debugging capabilities. While it may have a learning curve, the investment pays off with increased productivity and code quality.
Its open-source nature and strong community support make it an ideal choice for both beginners and experienced developers. If you're serious about Java development and looking for a versatile and powerful IDE, Eclipse SDK for PC is a worthy contender.
Note: Requires Java Runtime Environment.
Also Available: Eclipse for Mac
-
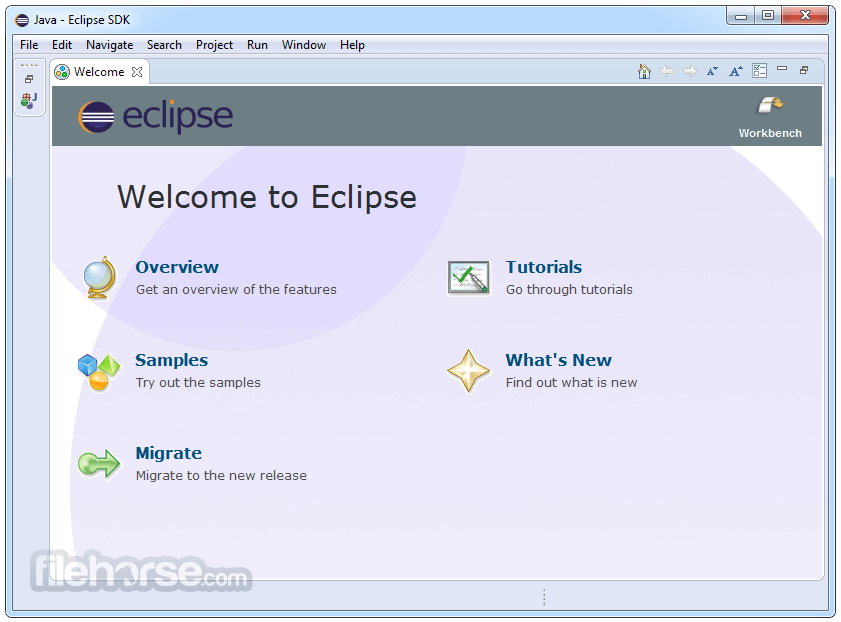
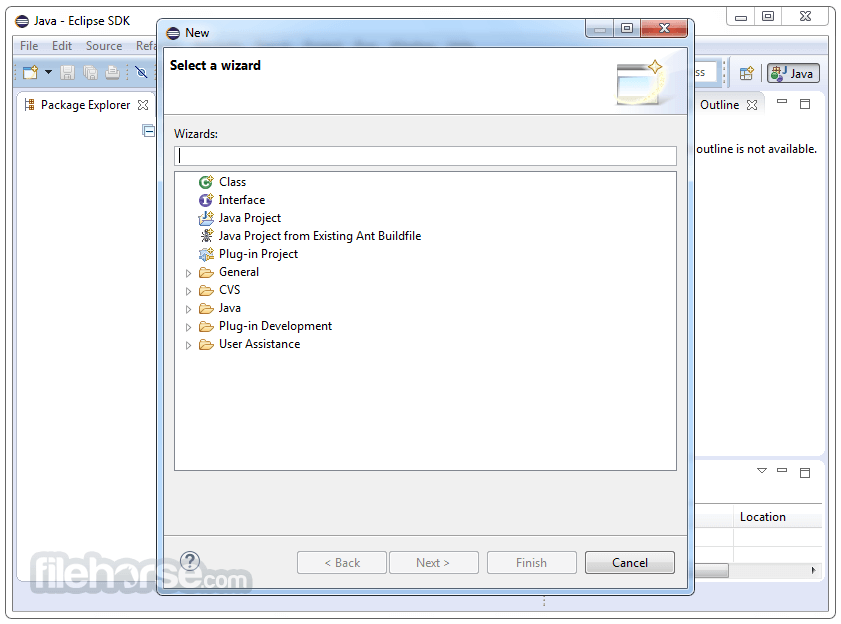
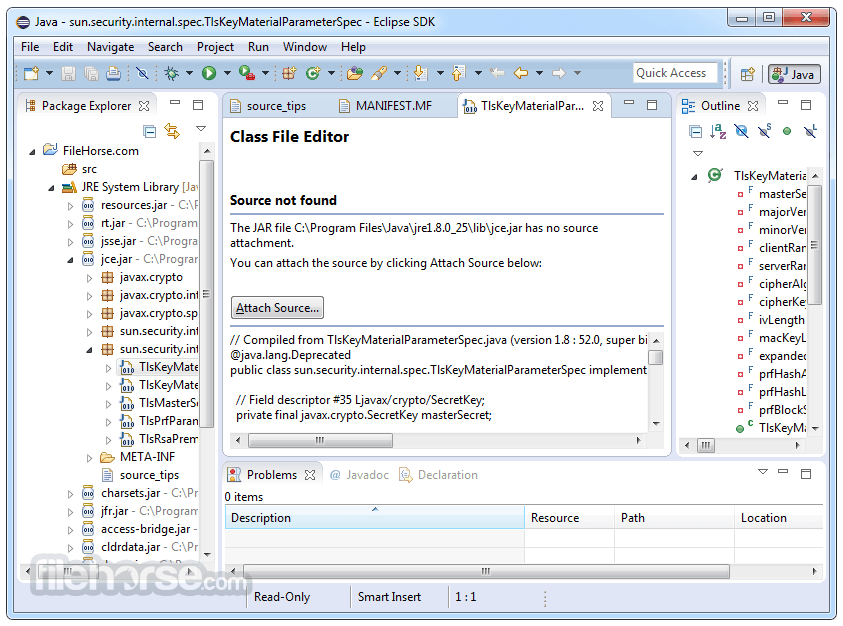
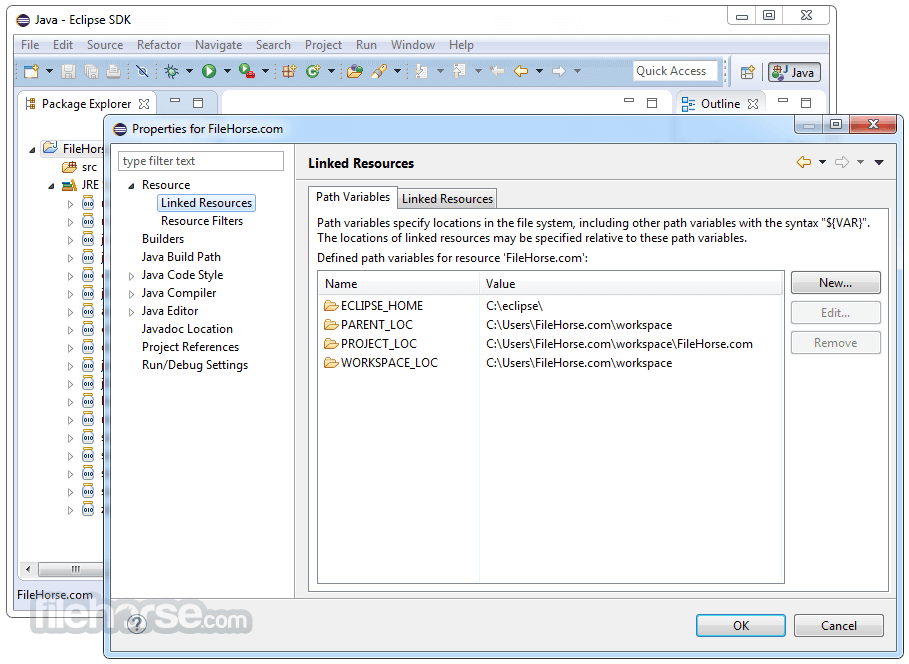
Eclipse SDK 4.39 Screenshots
The images below have been resized. Click on them to view the screenshots in full size.
-
-
-
-
What's new in this version:
Platform and Equinox:
Preferences:
Improved Theme Descriptions in Colors and Fonts Preferences:
- The Colors and Fonts preferences page now displays descriptions for the top-level theme categories in addition to the individual subtree elements. Previously, only child entries in the tree provided descriptive text. With this update, parent categories such as Java, Basic, Debug, Text Compare, etc. also include descriptions, helping users better understand what each category covers and making it easier to locate relevant settings.
General Updates:
Dynamic Console View Icon:
- The Console view now provides improved visual feedback by updating its icon based on the active console. This makes it easier to recognize which console is currently selected when multiple consoles are open. If the selected console does not provide a specific icon, the default Console view icon is shown instead.
- This behavior can be turned off from the Console preferences if you prefer the default static console view icon.
Equinox Launcher Scaling Defaults (Windows-only):
- Monitor-specific scaling is used as default in RCP products on Windows since the 4.36 release of Eclipse. To work properly, this requires the DPI awareness "PerMonitorV2", which is set by SWT for the UI thread automatically. The Equinox launcher executable still contained a manifest that defines a DPI awareness of "System" for the process.
- Until now, this led to the splash screen not properly being scaled and to potentially incorrect results at the handover of the splash screen to SWT and the Platform Workbench. With this release, the Equinox launcher process defaults to DPI awareness "PerMonitorV2" and uses the same autoscale defaults as SWT again. For information about the SWT defaults, which also have been updated and unified with this release, see the related news.
- Monitor-specific scaling can be disabled via -Dswt.autoScale.updateOnRuntime=false, which will also make the Equinox launcher use the preexisting autoscaling defaults for the splash screen. The process will still use DPI awareness "PerMonitorV2", but this will automatically be overwritten by SWT for a Display's UI thread to be "System" again.
Java Development Tools:
Java Editor:
Folding With Showing Selected Java Elements:
- Folding can now be used in the Java Editor when Window > Preferences > Java > Editor > Only show the selected Java element is enabled. In previous releases, this option automatically disabled code folding.
Show Javadoc From Annotation/Quick-Fix Hover:
- The annotation/quick-fix hover now includes a Javadoc proposal that opens the Javadoc information pop-up for the Java element referenced by the annotation. You can now view an element's API documentation directly from an annotation hover without navigating to the element's source file. Previously, annotation hover took precedence and blocked the usual Javadoc pop-up for the element under the annotation. To read the Javadoc you had to open or navigate to the original Java source. The change removes that friction.
- Annotation Hover Javadoc Behavior
- When an annotation/quick-fix hover is shown and the annotation refers to a Java element that has Javadoc, a Show Javadoc entry appears in the hover's proposals list.
- Activating the proposal opens the standard Javadoc information control (the same browser-based Javadoc pop-up used elsewhere).
- The Javadoc pop-up replaces the annotation hover for a natural, contextual display.
- The Javadoc pop-up is closed automatically when the user clicks outside preventing stale pop-ups.
New Convert Class to Record Quick-assist / Refactoring:
- A new refactoring has been added, Right-click -> Refactoring -> Convert Class to Record..., which will convert an appropriate class into a record
- The class must have only one or more private instance field members that are all initialized in a single constructor by simple assignment and no static members
- The class must have at most one getter method per instance field that simply returns the field value
- The class can only extend Object and cannot implement any interface
- The class may override equals(), hashCode(), or toString() from Object and these will be copied into the record but it cannot have any other methods except for the aforementioned constructor and getter methods.
- The refactoring may note that the conversion is not possible or issue a warning before conversion. For example, if there is a field that does not have a getter, a warning will be issued that the field will be exposed via an accessor and the user may choose to continue or not.
- When the record is created, all references to the previous getters will be changed to call the appropriate record accessors
- A corresponding quick-assist (CTRL-1 -> Convert to record) is also added to convert such a class. The quick-assist differs from the refactoring in that any warnings will cause the assist to not be offered.
New Disable/Enable Test Quick-assist:
- A new quick-assist has been added to disable or enable a JUnit test in the editor. To disable an active test, select within the JUnit test and perform Ctrl-1 -> Disable test with @Disabled. To enable a disabled test, select within the JUnit test and perform Ctrl-1 -> Enable test (remove @Disabled).
Java Formatter:
Support for Markdown Syntax in Java Comment Formatting:
- When Enable Markdown Javadoc formatting is enabled, the formatter now recognizes structured Markdown syntax inside /// comments and formats it appropriately instead of treating it as plain text. Supported elements include headings, ordered and unordered lists (with proper nesting), fenced, and indented code blocks, tables, and markdown-style tag annotations.
- Nested lists are aligned consistently, wrapped list items preserve correct indentation, and fenced code blocks (both ``` and ~~~ styles) are recognized and their enclosed code snippets are formatted while preserving structure. The formatter also validates and handles malformed list or numbering patterns gracefully without disrupting the surrounding content.
Debugger:
Improved Highlighting for Inline Chained Lambdas:
- Building on the inline lambda breakpoint support added in Eclipse 4.38, the Java debugger now highlights the specific inline lambda expression when it is suspended.
- Previously, selecting or focusing a lambda stack frame in a chained expression highlighted the entire line, making it difficult to identify the exact lambda.
- Now, only the suspended lambda is highlighted, making it much easier to follow execution in complex chained expressions.
- Drag and Drop Variables and Expressions into the Debug Shell:
- The Debug Shell now supports drag and drop from the Variables and Expressions views. You can drag a variable or expression directly into the Debug Shell, where it is inserted at the caret location. This makes it easier to reuse existing expressions and quickly build new ones using variables during a debug session, without manual typing or copying.
Platform and Equinox API:
Platform Changes:
Perspective Switcher Respects IPresentationEngine.NO_MOVE:
- The perspective switcher now respects the IPresentationEngine.NO_MOVE tag. This enhancement prevents drag-and-drop reordering of perspective items if the perspective switcher tool control has this tag applied. Developers can programmatically lock or unlock this reordering feature by adding or removing the IPresentationEngine.NO_MOVE tag to the tool control.
SWT Changes:
Native PDF Output Support:
- SWT now provides native PDF generation capabilities through a new PDFDocument class, enabling direct export of widget content to PDF files without requiring external libraries.
- Applications can now export SWT widget content to PDF using the standard Control.print(GC) API with the familiar GC drawing operations, or create fully customized PDF documents programmatically.
Platform Support:
- Microsoft Print to PDF
- This enhancement eliminates the need for external PDF libraries and provides a native, platform-integrated solution for PDF generation in SWT applications. See Snippet388 for a complete working example.
- ImageDataAtSizeProvider Referencable:
- The ImageDataAtSizeProvider interface is now available as public API. It allows SWT users to provide image data at a custom width and height, rather than relying solely on zoom-based scaling. To this end, the getImageData(int width, int height) method of the provider needs to be implemented.
- The ImageDataAtSizeProvider is particularly useful in cases where precise control over image dimensions is needed, allowing users to create image data at a specific width and height.
- If such a provider shall also be used to retrieve image data for specific zooms, the ImageDataAtSizeProvider.getDefaultSize() method of type Point can be overridden to define the size that the image data shall have at 100% zoom. In that case, calls to getImageData(int zoom) are delegated to getImageData(int width, int height) with the given zoom applied to the default size.
- Images from this provider can be drawn at a specific size using GC.drawImage(Image, int, int, int, int). See also the news on the introduction of that method.
New Method: Shell.getZoom():
- A new API, Shell.getZoom(), has been added to retrieve the native zoom level of a shell. The returned value is the zoom of the shell as originally considered by the OS and not an adjusted zoom value as considered by SWT autoscaling capabilities. When using the monitor-specific scaling capability on Windows, the value conforms to the zoom of the monitor on which the shell is placed. On other platforms or when monitor-specific scaling is disabled on Windows, it conforms to the global application scale factor according to DPIUtil#getNativeDeviceZoom().
Clarification of Device.getDPI() Contract:
- Device.getDPI() is a long-standing API method in SWT. It was introduced at a time when monitor zooming—typically relevant only for HiDPI displays—was not yet a concern. As a result, the method implicitly established a contract whereby a Display exposes a single, global DPI value, independent of the number of connected monitors.
- When SWT was adapted to better support HiDPI monitors roughly a decade ago, this implicit contract was retained but extended through the introduction of autoscaling. Under this extended contract, the DPI returned by Device.getDPI() is derived as follows: if the autoscaled zoom used by the SWT autoscaling mechanism differs from the native zoom, the returned DPI will be calculated relative from the autoscaled zoom to the DPI of the native zoom. For example, in the Windows implementation (with a base DPI of 96), this method returns 120 when autoscale mode is set to integer, and 96 when autoscale mode is set to quarter.
- With the subsequent introduction of monitor-specific scaling in the Windows implementation of SWT, the original assumption of a single DPI value per Display, independent of the number of connected monitors, is no longer valid in all scenarios. With this release, the method is adapted in Windows to always return the system base DPI (which is currently 96) when monitor-specific scaling is enabled, as with that mode the autoscaled zoom used by SWT for a shell is always the same as the native zoom of the monitor on which the shell is placed.
- Because existing usages of Device.getDPI() may still rely on the mentioned assumption, it is recommended that such usages be reviewed. In many cases, they may no longer be necessary or can be replaced with calculations based on the new monitor-aware API Shell.getZoom().
API to Disable Autoscaling for Controls:
- The autoscaling implementation on Windows differs fundamentally from the implementations on GTK (Linux) and Cocoa (macOS). On Linux and macOS, autoscaling is realized by computing and applying a single, global scale factor; the operating system then transparently handles all further scaling internally. On Windows, the situation is considerably more complex. The SWT implementation must explicitly convert every pixel-based value—such as positions, sizes, and bounds—according to the active autoscaling settings before passing them to the operating system. When fractional zoom levels are used (for example, 125% or 175%), these conversions can introduce rounding errors.
- In most scenarios, particularly when working with standard widgets, these rounding effects rarely result in visible issues. However, when custom rendering using a GC is involved, they can easily lead to rendering artifacts on a Canvas. A common example is an incorrectly converted clipping region that becomes slightly too large or too small after scaling.
- The most reliable way to avoid such issues is to remove SWT autoscaling from the equation entirely and render directly to the GC using pixel coordinates. To support this use case, a new API has been added, Control.setAutoscalingMode(AutoscalingMode).
- There are currently three enum values available for AutoscalingMode:
- Enabled: Default value. Autoscaling is applied as usual.
- Disabled: Autoscaling is disabled; the Control behaves as if the zoom were 100%.
- Disabled_Inherited: Same as Disabled, but the autoscaling mode is inherited by newly created child controls.
- Control.setAutoscalingMode(AutoscalingMode) returns a boolean indicating whether the requested mode was accepted and applied.
- A GC always inherits its rendering context from the Drawable for which it is created. Consequently, when autoscaling is disabled on the Control, the associated GC will also render with autoscaling disabled.
Monitor-Specific Scaling by Default (Windows):
- Monitor-specific scaling is used as default in RCP products on Windows since the 4.36 release of Eclipse. Until now, SWT still defaults to use the pre-existing HiDPI support based on one zoom for the whole application during its lifecycle.
- With this release, SWT defaults to having monitor-specific scaling enabled on Windows as well. In consequence, all SWT-based application will start with monitor-specific scaling enabled, unless configured otherwise.
- This change comes with some updates of defaults regarding autoscaling properties to unify the behavior and establish reasonable default behaviors. It affects the autoscaling setting (via swt.autoScale) and the DPI awareness used by the UI thread. While the existing scaling support used swt.autoScale=integer and a DPI awareness of "System" by default, monitor-specific scaling requires swt.autoScale=quarter and a DPI awareness of "PerMonitorV2" to work properly.
- Note: The Equinox launcher executable has also been adapted to start the process with DPI awareness "PerMonitorV2", such that the process DPI awareness fits to the default settings of the application (monitor-specific scaling being enabled). This conforms to the default DPI awareness of the JVM. The former default of the Equinox launcher executable was DPI awareness "System". See also the related news.
Scaling Defaults:
The most relevant configurations are the new and the previous defaults:
- Monitor-specific scaling enabled (no configuration, new default): When instantiating a Display, the DPI awareness of the UI thread is set to "PerMonitorV2" and the swt.autoScale mode defaults to quarter.
- Monitor-specific scaling disabled (-Dswt.autoScale.updateOnRuntime=false, former default): When instantiating a Display, the DPI awareness of the UI thread is set to "System" and the swt.autoScale mode defaults to integer.
- The latter configuration conforms to what Eclipse products used as default before monitor-specific scaling was enabled by default. Note that with a plain SWT-based application, using -Dswt.autoScale.updateOnRuntime=false will lead to a slightly different result than before. While previously the DPI awareness was taken from the JVM, it is now changed to "System", because the JVM default "PerMonitorV2" does not produce reasonable results with the pre-existing scaling support. It might have been reasonable when using custom swt.autoScale values such as false, which why in this case such a custom autoscale value is specified, the DPI awareness of the JVM is still used.
- As a result of this, a runtime application started from an Eclipse IDE will use the same DPI awareness than a final product using the Equinox launcher executable (unless a custom swt.autoScale value is specified). Previously, the experience with monitor-specific scaling disabled was different in a runtime application versus in a product using the Equinox launcher executable.
Custom swt.autoScale Values:
- The swt.autoScale property allows to set different autoscaling modes, such as integer (rounding fractional scale values to multiples of 100) or false (completely disable autoscaling). When a custom autoscale value is set, no automatic change of the DPI awareness of the UI thread is performed but rather the JVM default is used. This preserves existing behavior of autoscale-customized applications. The DPI awareness can still be customized via a system property (see subsequent section).
- In case you previously used a custom swt.autoScale value, you may now need to set -Dswt.autoScale.updateOnRuntime=false to preserve your behavior.
- Note: With monitor-specific scaling enabled, only the autoscale values quarter and exact are valid.
- Note: Instead of using -Dswt.autoScale=false, you may now consider using autoscale disablement at the level of Controls instead, see the related news.
Custom DPI Awareness:
- To allow the customization of the DPI awareness for an application without changing the application's manifest, an according system property has been introduced: org.eclipse.swt.internal.win32.dpiAwareness With this system property, the DPI awareness can be specified to "System", "PerMonitor" and "PerMonitorV2". For example, to start an application with System DPI awareness, you can specify: -Dorg.eclipse.swt.internal.win32.dpiAwareness=System
Plug-in Development Environment:
Views and Dialogs:
Launch Bundles Dialog Added:
- A new dialog has been added to the Eclipse PDE launch configuration dialog. It allows users to view the list of bundles that will be included when launching an Eclipse application. This feature is accessible via a Show Launch Bundles button in the launch configuration dialog in the Plug-ins tab.
- It provides visibility into the resolved bundle list for both plug-in based and feature-based applications. It helps developers understand the runtime composition of their application during launch setup.
 OperaOpera 130.0 Build 5847.12 (64-bit)
 Kling AIKling AI - Text or Image to Video
 PhotoshopAdobe Photoshop CC 2026 27.5 (64-bit)
 BlueStacksBlueStacks 10.42.167.1001
 OKXOKX - Buy Bitcoin or Ethereum
 CapCutCapCut 7.9.0
 PC RepairPC Repair Tool 2026
 Hero WarsHero Wars - Online Action Game
 TradingViewTradingView - Trusted by 100 Million Traders
 AdGuard VPNAdGuard VPN 2.9.0
Comments and User Reviews